This post will give you step by step instructions on how to connect to your SQL server database using Microsoft SQL Server 2008.
1) Set up a “SQL Server 2008 Database”and a “SQL Server 2008 User” in your DotNetPanel. A tutorial on how to do that can be foundhere.
2) Go to the Microsoft SQL Server 2008 Management Studio Express download page. The page can be accessedhere.
3) Click “Download files below”.
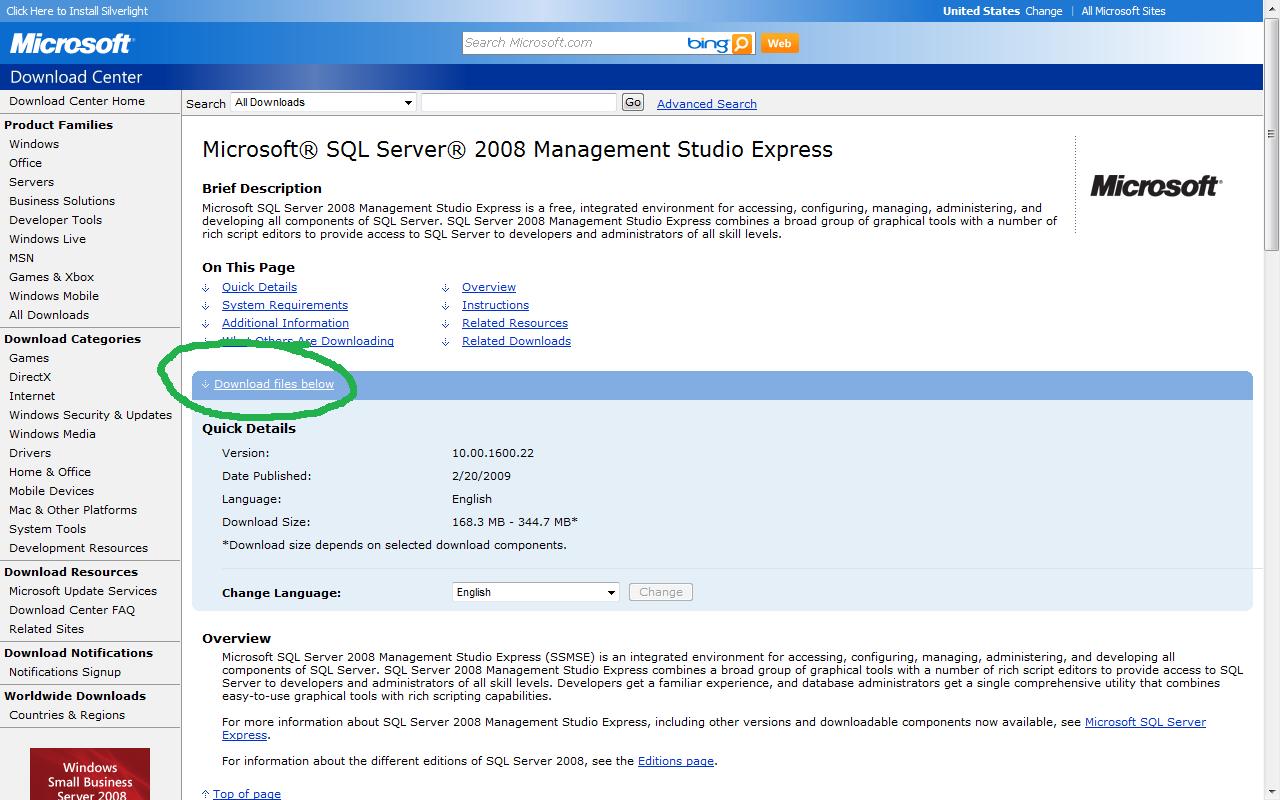
4) Download SQL Management Studio x64 or x86 depending on your system.

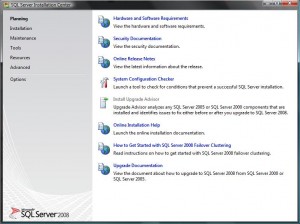
5) Click “Run” when the File Download box appears. Follow the directions until you arrive at the Planning screen like the one below.
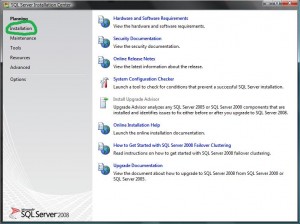
6) Click “Installation” on the left panel.
7) Click “New SQL Server stand-alone installation or add feature to an existing installation”.

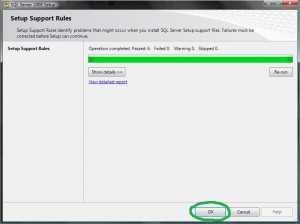
8 ) Click “OK” when the Setup Support Rules page completes the scan.
9) Click “Next >”.
10) Check the box next to “I accept the license terms.” and then click “Next >”.
11) Click “Install”.
12) Click “Next >”.
13) Click “Select All” and then “Next >”.
14) Click “Next >”.
15) Click “Install”.
16) Once the installation process is complete, click “Next >”.
17) Click “Close”.
18) Open SQL Server Management Studio. 
19) Set the Server type to Database Engine.
20) Enter your Server name. If you are unsure of what your server name is, you can find it under Location in your DotNetPanel.

21) Set the Authentication to SQL Server Authentication.
22) Use the User name and Password that you set up for the database in your DotNetPanel.
23) Using the leaf.arvixe server and the user name “Example”, the window should now look like this.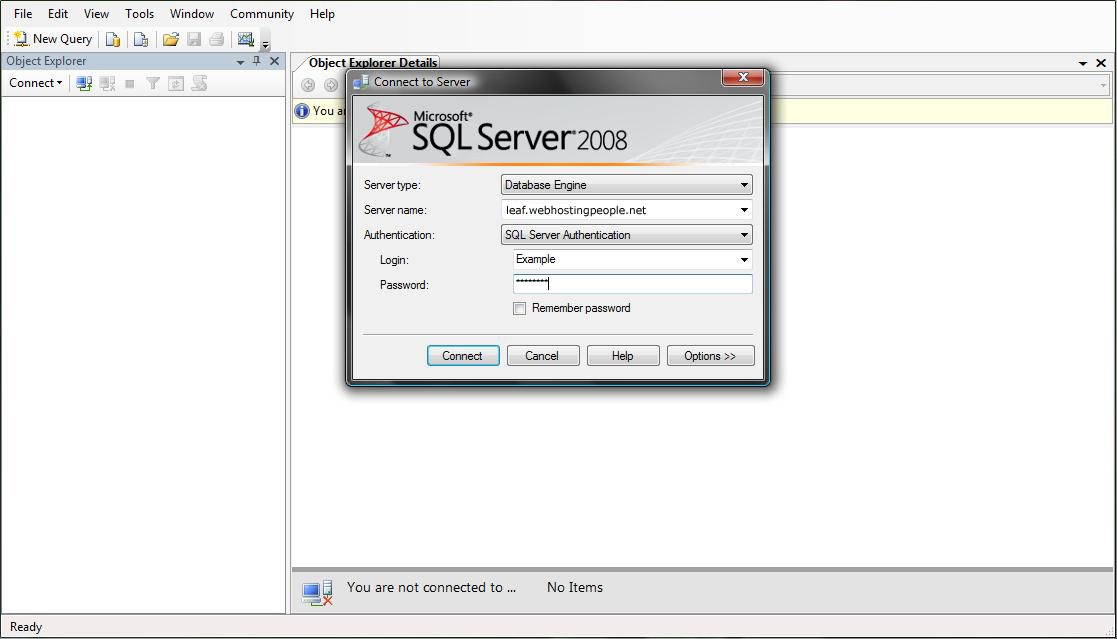
Also, Click theOptionsbutton, then theConnection Propertiesand make sure you type ‘master‘ in there (VERY IMPORTANT STEP !!!).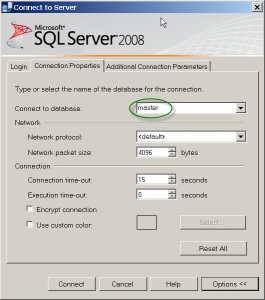
24) Press “Connect” and your window should now look like this.


